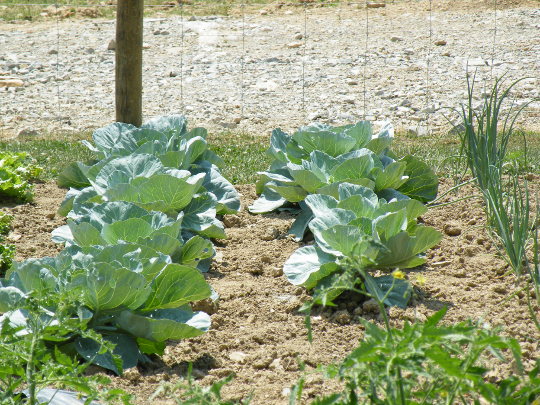
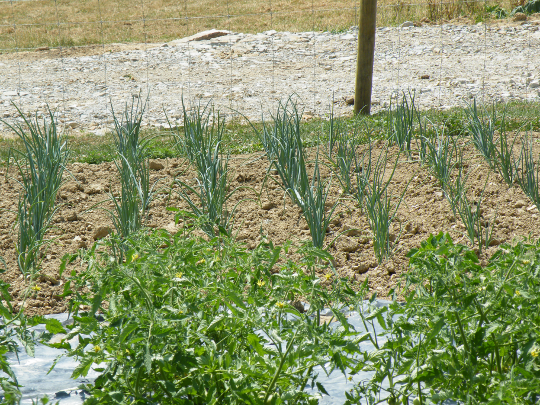
I recently pulled up the results of my first experiment with garlic. The bulbs were no where near as large as those shown above, but the trial did prove that I could grow my favorite seasoning with garlic purchased from a grocery store, rather then the seriously over-priced bulbs sold in seed catalogs. I had been meaning to purchase some more garlic, but I’ve been trying to avoid most stores in an effort to save money.
The other day a co-worker had been coughing quite a bit, and since I’ve shortened a sickness or two with some raw garlic, I thought I would get some for her while on my lunch break. When I got to the garlic, I was amazed that it was only $3.49 /lb, so I got two pounds, figuring I could plant the majority of it, eat some, and still hopefully help my co-workers sickness retreat early. It seemed like a great idea, even though it’s still a bit early to plant.
The process began first with removing the papery outer layers of the bulb, and breaking it up into the individual cloves. You can see in the bottom of the photo how some of the cloves were trying to grow right on the store shelf. I was a bit surprised by the number of cloves that were contained in the bulbs, and the amount of time and coffee it required to separate them.
My Swiss chard plants from last spring have gone to seed, and after I harvested far more seed then I will ever need, I decided to turn the soil over, and plant the garlic here. I used the pick axe shown to dig deep into the ground, and chop up the larger clumps of dirt. This is the only tool short of a rototiller that would work for the task since the ground contains a good amount of clay, and can sometimes be quite challenging to dig in. The pick axe solves the problem quite well as long as you can supply enough elbow grease to keep it moving.
When the soil was loose, I decided to juice it up with some of the good stuff. I have piles of manure all over the farm, some as old as two years. This particular vintage was some year and a half old cow manure. I’m sure there will be lots of weeds which will be seeded from the manure, but the life it gives this garlic will be well worth the effort to keep them weed free.
As I was digging, the kids came over to help weed the garden, and not long afterwards my sister had joined them. I’ve been trying to get other people to do my work for me, help out with different parts of the garden, and I talked Maurice into taking the photo of the sky above. Just as a fish would swim away with the bait, she started taking pictures of me and “Joker” planting the garlic cloves.
I had my finest garden attire on, and Joker was curious to see if I had any of the bacon left that I had shared with him earlier. Joker is the small kitten located behind my foot on the right side of the picture. He has an odd white marking ending at his mouth, that looks like the smiley face on the character “the Joker”, hence his name.
When planting garlic cloves, simply press the bottom end of the clove about half way down into the soil, without covering the clove.
After planting about three rows of garlic, I decided to add turnips (Purple Top White Globe) and beets (Gourmet Duo) since there was lots of room left. Finally, I moved the sprinkler into firing range, and let the rain fall. The seeds will take a minimum of 7 days to germinate and begin emerging as little plants from the soil, and I would imagine in the same amount of time the cloves will begin their vertical growth with little green spikes emerging from their tops.


