This year I hope to take a much harder swing at propagating cuttings, and to scale up my efforts, I’m bringing back the bones of the old hoop house I originally constructed 6 years ago. I’ll modify the design to provide shading from the sun rather than protection from cold. Instead of a clear plastic cover, I’ll use 50% shade cloth.
I had stored all of these water pipes in a bundle tucked into the corner of a shed, and when I pulled them out I had only minimal damage. A quick trip to the big box store with a mask over my face and I soon had all the parts I needed in my gloved hand.
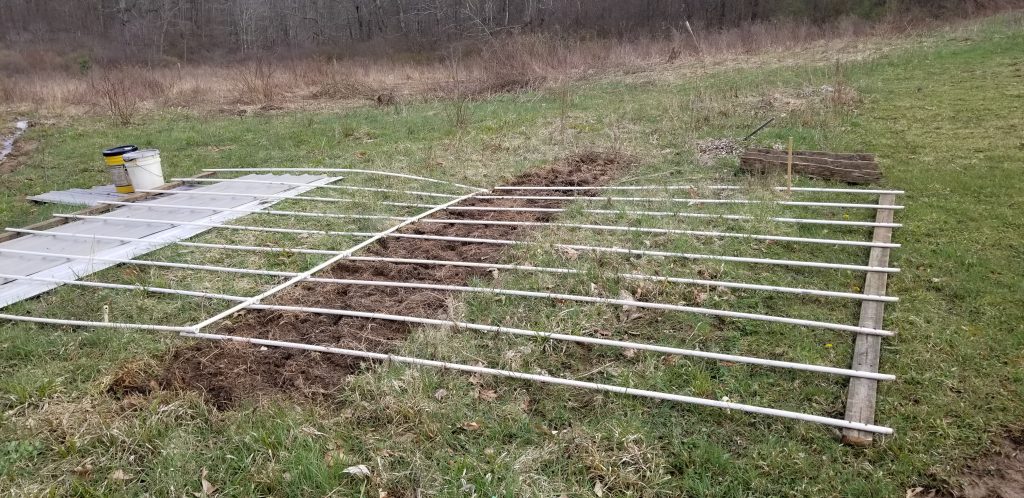
I asked my wife, Kassy for help, and I was surprised how quick we got the basic structure in place. The frame consists of Schedule 40 1/2″ piping, so the first step was gluing them all together. After that, we secured them to a treated 2×4 with exterior screws. I should note the original iteration of the design lacked glue, and I believe that was one of the shortcomings of the design.
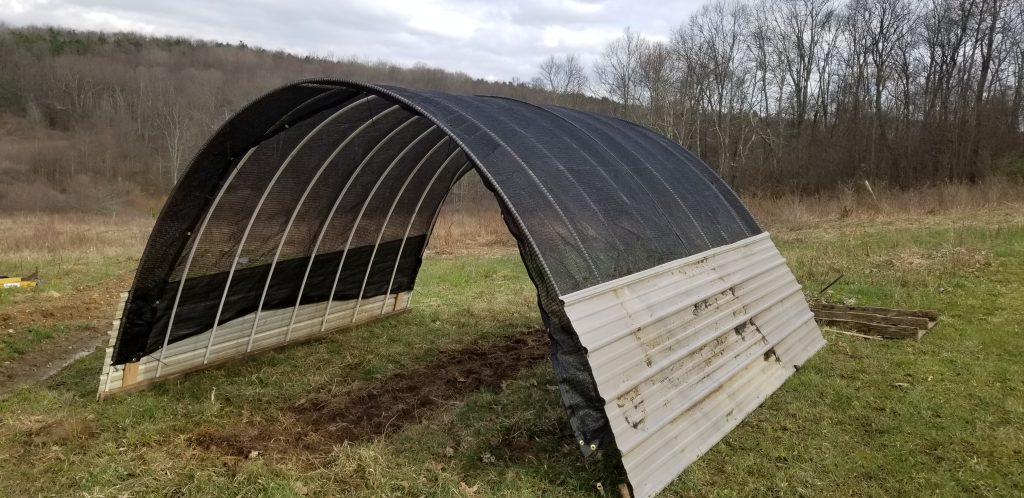
The raising of the hoop worked out better than I initially hooped. I asked Kassy to hold her foot down on one of the 2x4s while I picked up the center. I was able to slip between the pipes as I lifted, and when I started to lower it, I noticed it stayed in place really well. I must admit this was a really clever design mistake inherited from the original design. If you look closely at the place where the pipes connect to the 2×4 you will notice that they extend past it. When the structure was raised, they dug into the soil just enough to hold it into place. I really lucked out that time! The original hoop house had a 2×8 at the base, and I just re-used most of the pre-drilled holes.
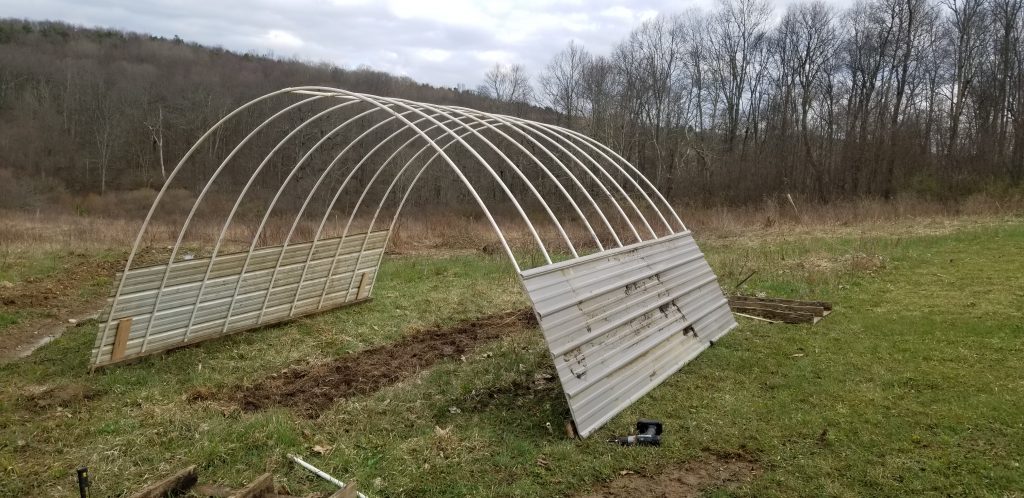
Next up, I added two pieces of tin commonly used on metal roofs. You may be asking why? Well, the shade cloth I bought was 18′ X 12′ and the area I needed to cover was about 20′ x 12′. I also had a hunch that the metal would help stiffen the structure, again thinking about the last version that failed. Before attaching the metal I drove four boards about 3 feet into the ground on each corner.
The shade cloth was a breeze to add. We used zip ties to hold it in place while deciding what to do for the ends of the building.
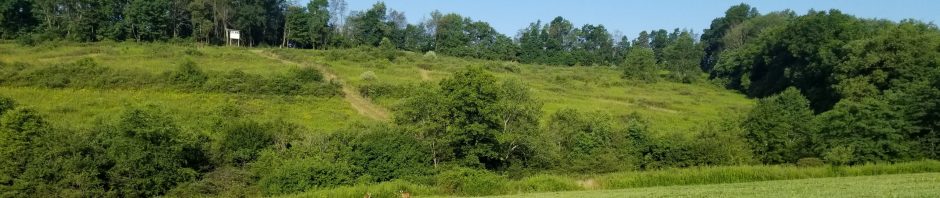
I chose the location of this hoop house because it was far out of sight of the house. I thought about leveling the soil with the tractor but I’ve learned all too well what sort of mess that would make. Freshly worked soil turns into a muddy mess that adds pounds of mud to your boots, not something I cared to venture into. I compromised by leaving the building on a fairly decent slope, which is only terribly noticeable when I leveled the support shown above.
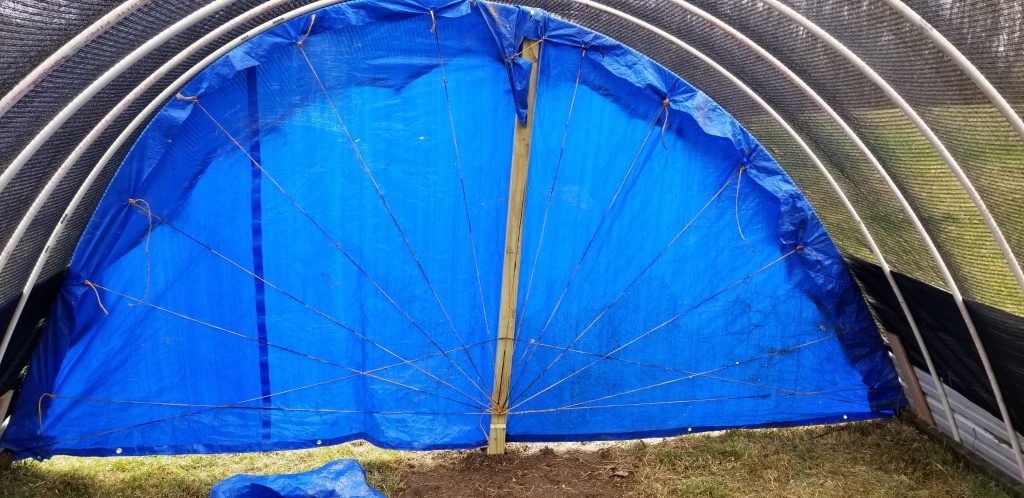
I settled on using a tarp to block sunlight on the edges, and initially, I just folded over the excess so I could re-use the tarps later. After considering the number of snakes that we see in the yard and imagining how much they would love to hang out in a folded over tarp, I opted to trim off the excess!
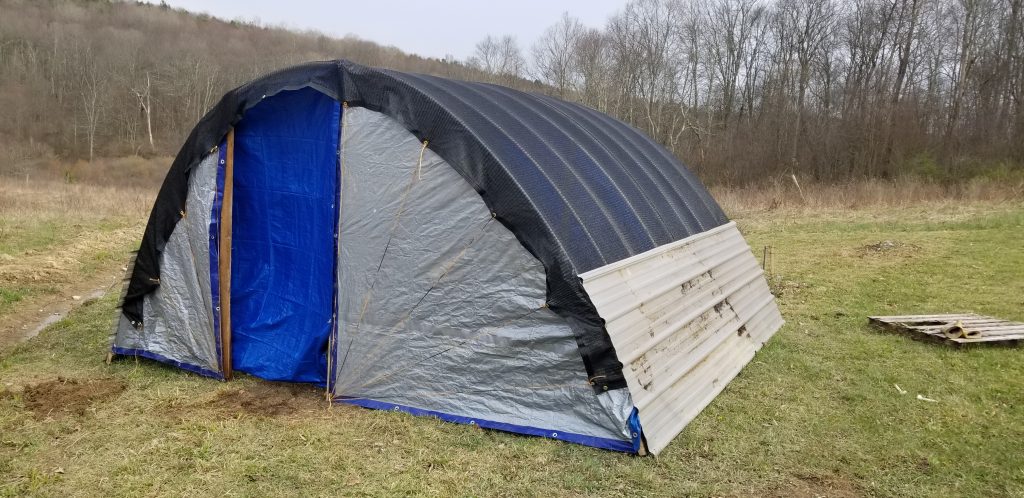
So there it is, a 50% shaded hoop house. In June I’ll stock this with hundreds, perhaps thousands of cuttings ranging from elderberries and blueberries to rhododendrons and azalea. I’ve already begun running water lines, and I have an automated sprinkling system that will be added next.
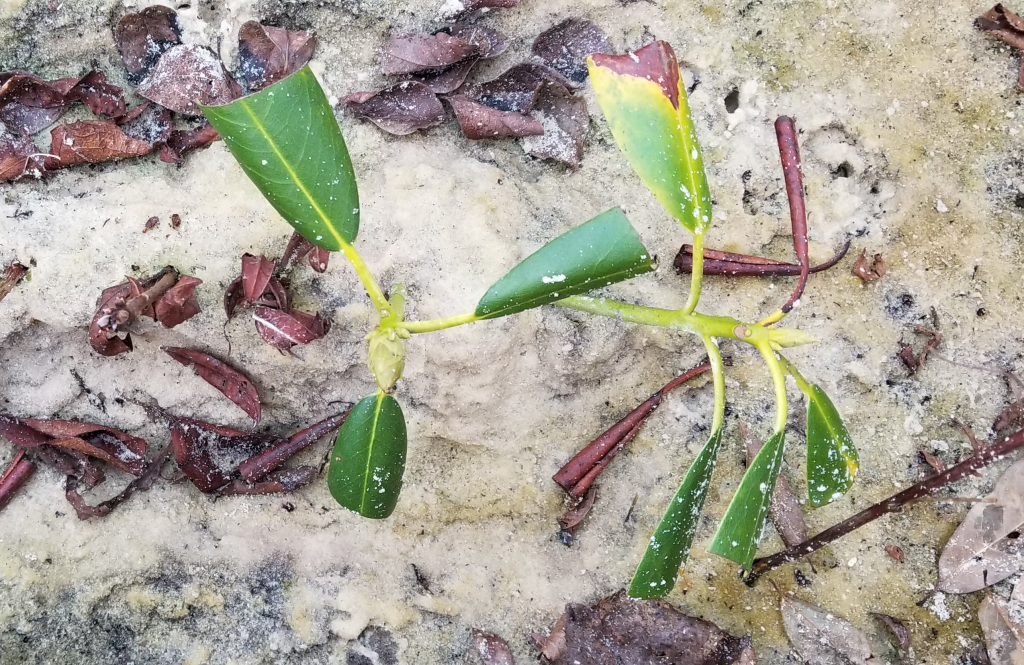
After finishing the hoop house, I decided to check on last year’s trails. I was having good luck till nearly the end of last summer when I thought all of my cuttings had died. I was quite surprised to see growth this spring on 14 of the cuttings even after I had given up on them!