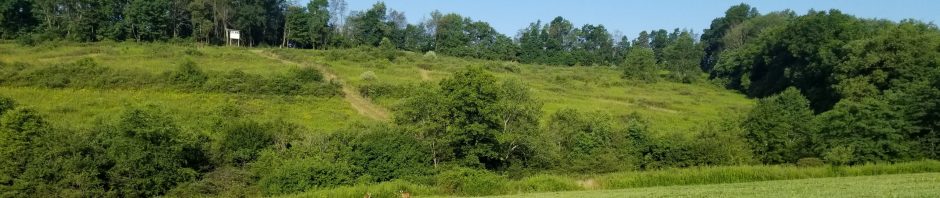

Hunting Stand
Above is Mike’s tree stand, in the middle of my Mother’s field. My siblings and I do not hunt deer, so a few local guys have placed stands in strategic locations around the farm. The colors have not been altered in any way. This is how the fields look in the early morning when the grass and everything else is covered in frost.

Kim's Painting in a Frame I made.
I started making frames for paintings last year using a hand saw, and mitter box. The frames turned out nice enought after staining them, but I was unhappy with the precision of the angles, so I recently upgraded my setup to include a Radial Arm Saw. This new device is much more accurate, but I need to modify my method a bit. The frame above has a paper line crack where the pieces are joined together. I need to find a way to eliminate this gap. When the weather improves, I’ll stain this frame out side with birch, then give it a glowing clear coat.
The painting is one of my sister Kim’s. She paints as a hobby, and has gotten quite good at it. This particular painting reminds me of the valley where I live: with few neighbors, and dirt roads. Thanks Kim, it looks great hanging in my living room.

Replacing My Car's Wheel Bearing
My car has been making a funny noise, which gets louder as it’s driven faster. After some investigation and consultation, I’ve learned that my car’s wheel bearings would need to be replaced, Now ! Apparently wheel bearings which are making noise are quite dangerous. When I had the wheel off, and I was down to the bearing itself, I found my work grinding to a halt: I would need a 3/4 inch drive ratchet, something I do not have. I made a few calls, and found out that Mom had one, that Dad used long ago. Once I got this important tool, Rob showed up, and the whole project moved along pretty well.

Replacing a Light Switch
As I’ve noted below, I recently installed a new fan in my kitchen, only to notice that the input voltage was too low. I finally got around to replacing the dimmer switch with an on/off model, and wanted to share this humorous photo. I refuse to work on electric with current running through it unless it’s absolutely necessarily, and this time I shut off the power too the majority of my home. I then used my laptop screen as a flash light while connecting the switch. I could have waited till the sun came out, but that would delay progress.

Shoe Rack Light
Saturday morning, I decided to build a shoe rack to help organize my new roommates shoes. When I was complete, I realized there wasn’t much light in that part of the hallway, so I set out to find a light to place in the area. I didn’t find anything suitable, so I started constructing my own creation. I made a shelf of sorts, and then cut some flashing to fit on the underside. I ran some electrical wire under the flashing, to connect the wires for two lights. I then mounted the lights on either side of “shelf”. To finish it up, I drilled a hole for the electric line that will feed the power. I just need to install a switch, and it will be good to go.

New Fan

Custom Mount

Remodeled Bedroom
I’ve been working on this project well after dark after finishing up with the sprinkler and hoses. I’ve spent very little money, reusing everything from the curtains shown, to stain purchased for a different project.

The Right Side
The uniform drapped over the rocking chair was my fathers from his time in the armed forces during World War 2. He was a very versatile man, doing everything from air craft maintance to forklift repair, and even building and restoring furniture. I’ve learned untold trades from him, and once built a room on his house by myself with him instructing me each step of the way. I even installed the insulation, electrical outlets, and recently the cherry laminate flooring.